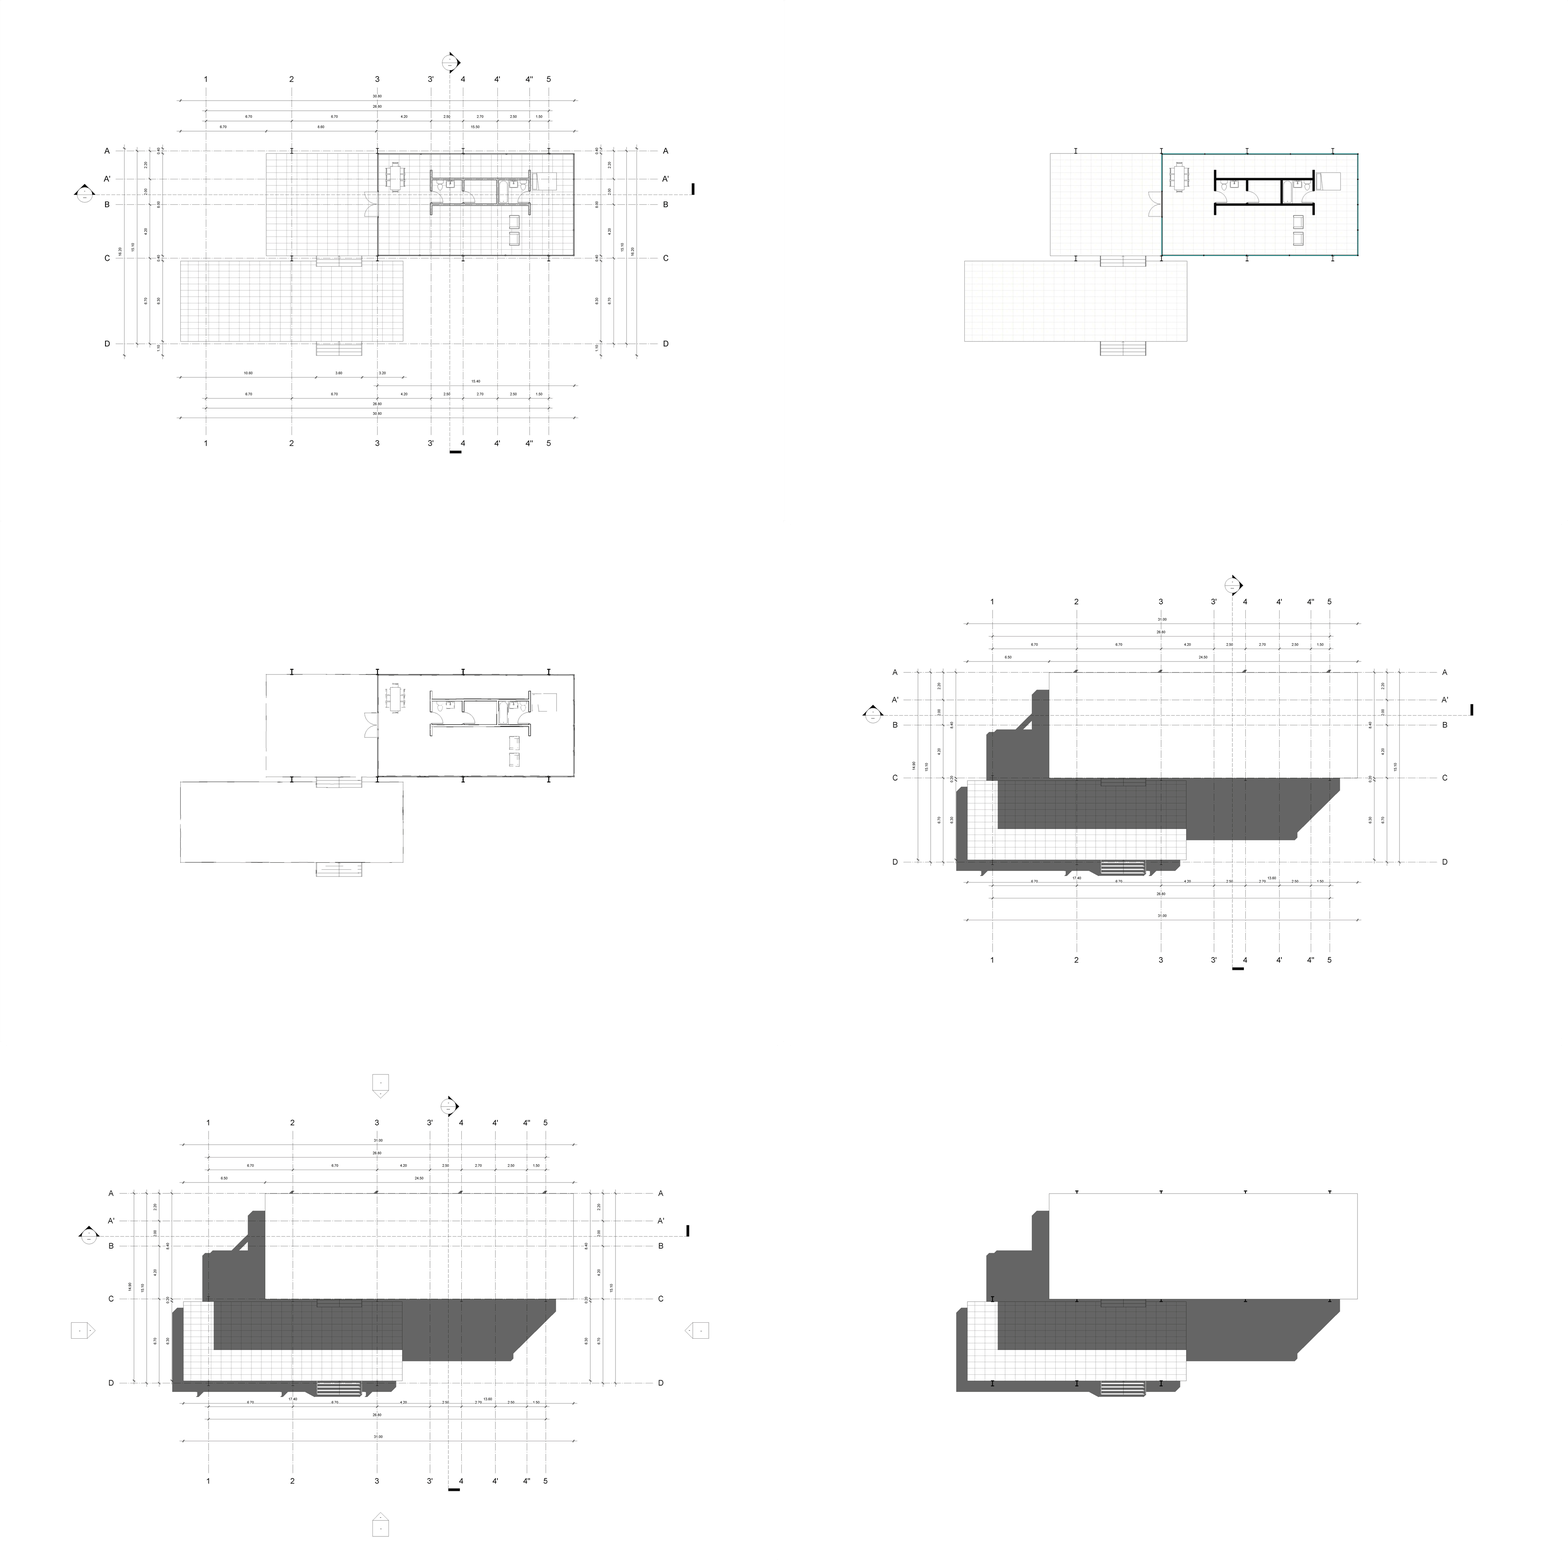
BIM is bringing 3D information technology to the work of floor-planning. Many 3D models rendered on traditional floor-plan platforms don't show the same level of detail and complexity as ones that incorporate BIM technology. For this, it is necessary to develop configurations that allow for the creation of an expressive and detailed floor plan that gives the best possible view of a project.
In this article, you will find an architectural file from Revit that features a series of configured View Templates. Made especially for architects who are newcomers to Revit and BIM methodologies, this file will allow you to incorporate View Templates into your Revit projects, allowing you to better showcase the ideas and concepts behind your designs.
Download 'View Templates V2017' here.

How do I export View Templates from this article's downloadable files?
To export the View Templates from our project file to yours, first you must have both files open in Revit. Next, in your project file, go to the Manage tab and then to Settings and click on Transfer Project Standards. A window will pop up where you will see all of the configurations that can be transferred to your project. Click on Check None and then on the box that says View Template. With this, the View Templates should be transferred and ready to use.

How do I use View Templates?
Once you have created your own View Templates or if you are using the ones transferred from our file, you can apply them by going to Identity Data under the Properties function. Once different View Templates are created, you can continue configuring them with the View tab, under the Graphics sub-tab, by clicking View Templates.

How do I configure my architecture displays?
Next, we will show you how to quickly configure different viewing options in Revit:
Basic configurations for planimetry in Revit
Revit gives you several options when it comes to configuring different displays. Here we'll look at Object Styles, Visibility Graphics, and View Templates, in order to give you a better idea about how to produce interesting floor plans and also how to reuse these configurations for other displays and projects.

Global Configuration: Object Styles
This conforms the global configurations for presenting 3d models, 2d elements, and annotating. They're a key factor in projects and are organized according to their elements. You can find this function in the Manage tab under the Settings sub-tab.
In the Object Styles window, there are different elements that can be configured, like widening lines and changing their color or pattern.
Taking the time to configure the different element parameters in Object Styles will allow you to personalize all objects in the display.

Display Configuration: Visibility Graphics
However, every display has personalized configurations that can differ from the general configurations in Object Styles.
Every display has its own graphic configurations, called Visibility Graphics. In whichever display--floor plan, cut, elevation, or 3D-- under the View tab and then under the Graphics sub-tab, you will find the Visibility/Graphics function, that allows you to configure viewing options that can only be used with that particular display.

Configuring Replicable Displays: View Templates
With the general configurations in Object Styles and the particular ones for the displays in Visibility Graphics, you can save the configurations that you have made as View Templates. These can be used with different displays as long as they coincide with the type of display (floor plan, cut/elevation, 3D view). You can create these by right-clicking on the configured display in the Project Browser and then clicking on the Create View Template from View option.


